Adapting to some fundamental survival training in your backyard is an effortless means of preparing young adventurers. It prepares you well before venturing into the perilous wilderness. Being adept in these skills proffers a time-tested backup plan because, in worst situations, the only things you are left with are your paraphernalia and wits!
But the real question is, how would you go about it? Let’s find out.
Table of Contents
Constructing the shelter
Even though the backyard is not the most suitable place that fits into the description of a shelter, it is definitely a worthy place to learn the elementary skills of shelter construction. It may not come with all the essential items for the purpose, but your imagination and innovation can go a long way to help you.
How to prepare the survival shelter?
No matter where you have to construct the shelter, the basics always remain the same. The first task is to spot the elements that you will need and then, you can move on to fitting them together in the backyard. Besides, you must also learn to tie cordage and fasten up the small pieces of your shelter.
Remember that the shelter is the most important aspect of your survival training camp. The deadliest factor in this respect can be the lack of your preparation. Nature works by the rule of the survival of the fittest, and you wouldn’t last even three hours without the right shelter in the face of a natural calamity. Though it’s not possible to stay absolutely dry, there are some important aspects to keep in mind.
- Finding coverage: If you are fortunate enough, you could find natural coverage from precipitation. Caves and enormous trees can save your life when you don’t have the right survival gear or time to build up a shelter.
- Upraising the bed: Regardless of the environment you are in, you should always try to push the ground up as much as possible. This is not just crucial for staying dry but there are also bugs and insects you should be watchful for.
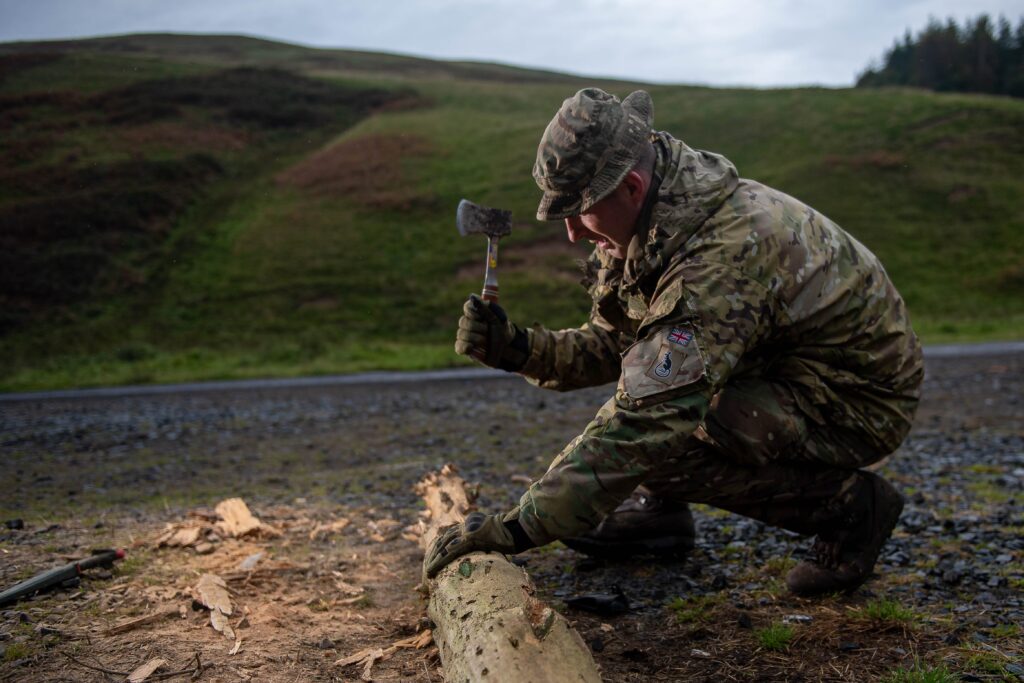
- Using tree branches: When you are constructing a survival shelter in your backyard, consider using tree branches. They are remarkable building materials to survive a natural disaster. Whenever possible, avoid wasting time and energy in molding or cutting the branches as it will physically exhaust you.
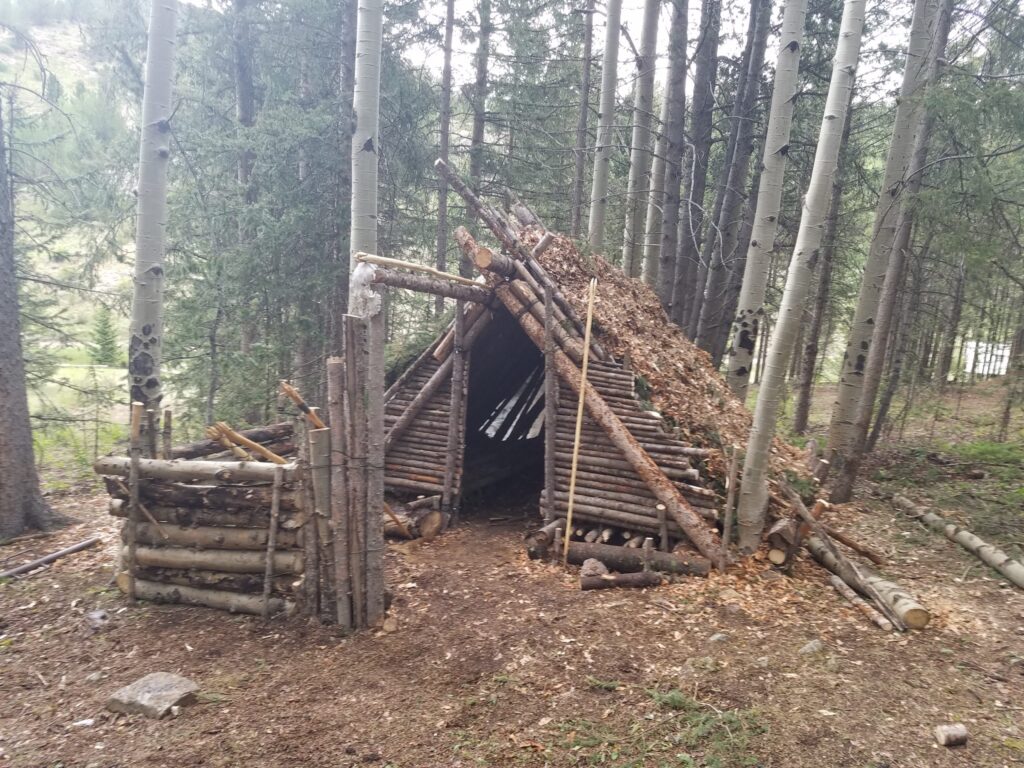
- Shelter made of debris: Training shelters can be made in a variety of ways using debris. However, the most common one is A-shaped. As you are trying to make a survival training camp with natural debris, common things like foliage, sticks, and even dead leaves can shield you from difficult weather conditions.
If there are not enough poles for the construction of the shelter, you can look for smaller trees whose bark and branches can serve as poles. But if you are hailing from a place where the temperature is mostly below the freezing point, you should take extra measures to prevent exposure. Without the right survival kit, it can bring extremely difficult to regulate your body temperature. Some tips from the expert can help you:
- Using available insulation materials: If your backyard allows you to access tree branches, mud, dead leaves, and moss you can use them well for natural insulation. These materials will help you trap heat to a great extent.
- Keeping the ground warm: If you lay directly on the surface without any insulating sheath, you will end up losing a major share of your body heat. It’s important to insulate the ground that you have planned to sleep on. You can use wooden planks or straightened tree branches for this purpose.
- Laying the natural elements: When you are planning the survival shelter, it may so happen that you don’t have access to any of the professional survival gear required for making a bed. Simply laying the grass, leaves, branches, and twigs will trap the warm air. This, in turn, will prevent the earth from sucking up your body heat.
- Building a tinder nest: No matter which method of survival shelter you employ, it’s very important to have a tinder nest. It is composed of different kinds of flammable materials like dry shrubbery. If you can arrange for a bag and fill it with water, it will become easier to focus in sunlight and light up the nest.
It’s worthy to note that cold weather areas are often wetter compared to warmer places. When the situation is tense this primeval shelter would go a long way in protecting you. So, to sharpen your bushcraft skills, you must practice shelter building with your kids.

Finding a heat source and building a fire
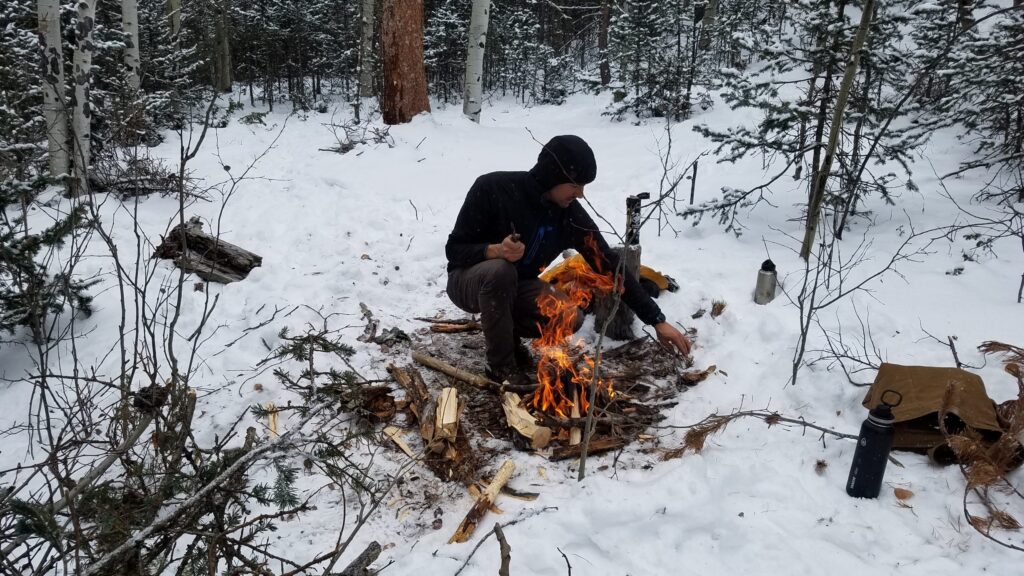
In a colder environment, the real challenge is to stay warm to rule out hypothermia. When you are setting up a survival training camp in your backyard, you should realize that there are two primary sources of heat. The first one is the heat from a fire and the second is your own body heat. If you are planning to build fire inside the training camp, you should carefully chalk out how to tend the fire all through the night. Also, make sure that you have the whole night’s firewood before it gets dark. Your primary concern should be to keep everyone warm without burning down the shelter.
1. Where to build the fire
It has always been a debatable topic to decide whether or not you should build a fire inside the training camp. The general consensus tells that it’s better to avoid fire inside the shelter which invariably leads to the question, where should you build it?
When you have to build a fundamental lean-to shelter for the camp, you must have gathered adequate leaves and twigs to create a flame. Let’s assume that you have also stacked in the required amount of logs and collected some stones for setting up a reasonable boundary around the fire pit.
To detect the right spot for your fire pit, try to figure out the direction of the wind. After all, the last thing you will want is to have smoke directly blown into your survival training camp. These basic elements of building fire should be taught to children so that they can imbibe the true essence of the survival of the fittest.
2. Building the fire pit
A folding shovel is a must-have in your survival kit for building a fire pit. The first step is to dig the ground for the pit. Next, lay the stones in a circular form for setting up a perimeter. Dig down a few more inches inside this perimeter to give it the shape of a true pit. It will also prevent the fire from escaping away. But if you think that it’s extremely difficult to dig the ground, it’s advised that you skip this step.
3. Ideal materials for the fire pit
It goes without saying that there is some essential survival gear for building fires, chopping wood, and kindling flames. This will ensure that you will never have to worry about ways to chop firewood or run out of matchsticks. Once you are out in the wilderness, natural elements can be your only savior, and thus, look for the following:
- Logs measuring up to 8″: Logs of this size typically burn for an hour and give you adequate time to take a power nap before you have to add more fuel or poke the coals.
- Medium-sized stones: You will need stones that are neither too big nor too small. This will allow you to create a border easily and remove them whenever necessary. You will not just be required to forage fire materials but also adopt means of energy conservation. Also, refrain from moving any large natural object that may injure you.
- Additional source: If you are without any kind of kindling, dry leaves, and twigs are also a brilliant source of fire and additional insulation. You may keep them packed in the lean-to area or in the bedding zone and keep the fire growing. If you are just practicing a real-life application of the survival of the fittest, a toilet paper roll can be a handy substitute to start with.
When you have to break the barriers of the comfort zone of your backyard, then you will have to take the true test of your survival training. Fire is not only important for keeping you warm but also for protecting you from insects and animals alike.
The first thing to take into account is to check whether the ground is flat. Next, try to figure out whether there is any break in the canopy above the camp for the smoke to escape. While fire can offer comfort beyond compare, it can also be dangerous without the right measures. Thus, it’s also crucial to know some fundamental facts about a fire pit.
- Smoke requires vent: Although you may be absolutely enthralled by the thought of a caveman lighting up a fire in a small cape, it’s not a prudent idea to try out. Breathing an excessive amount of smoke is detrimental to your health.
And the worst thing is that you could be smoking up carbon monoxide and other harmful gases and chemicals even when there is no smoke build-up. So, you should set up a fire in such an area so that smoke can disperse effortlessly while offering the required warmth. But if the top of the survival training camp is covered, you need to have an opening for the smoke to go out.
- Keep the fire restricted: The last thing you should think of is starting off a whole place of fire. Make sure that you have boundaries around your forest fire and be watchful of it. Building a sand wall is also a viable option. But the best thing to have is some rocks. This helps in radiating heat and stopping the fire from coming beyond the boundary.
- Be watchful of the fire: If you have to go out of the survival training camp, it’s never suggested to leave a roaring fire pit unattended. It’s a must to extinguish the fire before you step out of the camp or want to take a nap. When you need to sleep, you can wait for the fire to eventually extinguish. Even though the glowing embers are not much of a hazard, it’s wise to put it off entirely if you have children involved in this.
- Keep all fuel dry: This becomes even more difficult in inclement conditions. You must gather leaves, twigs, and kindling and keep them protected in the tarp. Also, avoid anything flammable to create the pit of your fire.
Even though wet wood may seem to be a plausible option for drawing the pit, the fire will gradually suck up all the moisture and after a point, it will not be wet anymore. As it dries out completely, that wet wood will turn into fuel and wreak havoc in your backyard.
4. What not to use as fuel?
When you are finding a survival training camp in your backyard, it’s natural that you may feel impulsive to use anything that you find handy. This is especially true in the case of children as they often lack the knowledge of what can be used as proper fuel. It’s important to show them that there are certain things that you must never burn.
- Garbage: Well this is the first thing that comes to our minds when thinking of sources of domestic fuel. But when you toss things like rubber, plastic, and other synthetic materials in the fire, it not only gives out carbon monoxide but other noxious gases as well.
- Poisonous plants: The wood that you collect for the survival training should be devoid of plants like oak, poison oak, and sumac. These will not just irritate your skin but setting them on fire will eventually release their inherent properties into the air. As a result, you will breathe the vaporized oils and get allergies in your lungs and breathing track as well.
- Treated timber: A piece of pallet could be lying in your backyard unattended and suddenly when you find it, you decide to shove it in the fire. But did you know that timber that was actually meant for construction has been chemically treated? Those chemicals can be quite detrimental to your health. Also, avoid using older lumber since they are processed with arsenic. Therefore, it’s best to opt for naturally found wood.

Generate drinking water in your backyard
As you are done with the fire and shelter, now it’s time to arrange for safe drinking water. The good news is that there is an abundance the natural sources of water no matter where you go hiking and there are proven methods of disinfecting it as well.
Finding a viable source of water
Depending on where you go for hiking or even if you are creating a survival training camp in your backyard, it’s important to find the right source of water. This may range from ponds, lakes, creeks, or natural springs. One common mistake that we often commit is not regarding precipitation as a source of water supply. Rainwater that falls directly without passing through the canopy is safe for consumption. Also, fresh snow can be melted and drunk without treatment.
But other sources of water are generally dirty and should be treated in any of the following methods:
- Boiling: The most reliable means of killing pathogens and bacteria is to boil them. This also evaporates all kinds of chemical pollutants. This can be adjusted on a metal or ceramic container over the campfire.
- Distilling: In a condition where the only water available is loaded with lead, metals and heavy salts, and other such contaminants, distilling it is the only way out. Although it will not rule out organic compounds and volatile oils, the heavy elements will settle down.
- Chemical disinfectants: There are also chemicals and iodine tablet disinfectants available that can help you purify the water for drinking. Even though the taste and toxicity of iodine can be a bit problematic, the water is safe for consumption whether you are in a survival training camp or going into the wilderness for hiking.
Drinking water raw from their natural sources is no less than gambling. Even when you are in an open wilderness, it is contaminated with stomach-churning pathogens. Unless you see a spring releasing crystal clear water, consider purifying the water before consumption.
Prepare your own food around the camping area
You will be surprised to know the wide array of edible plants present on your backyard farm. When you are thrown into a situation where you can’t have many choices, plants play a great role in providing the necessary nutrients.
- Know what’s edible: Before you consume anything green, it’s imperative that you identify the edible plants. Though there are some plants which are very toxic, they look the same as the non-toxic ones. So you must train yourself as well as your children on some non-toxic species that are not just loaded with nutrients but also taste good. These include nettle, miner’s lettuce, and dandelion among others.
If you are not experienced in foraging natural food, it’s better to avoid mushrooms and other fungi as consuming some species can be fatal. According to hiking enthusiasts, it’s very important to know your individual energy and food requirements. When you are on a camping or hiking trip in the wilderness, your energy needs will be much higher than on a regular day at home.
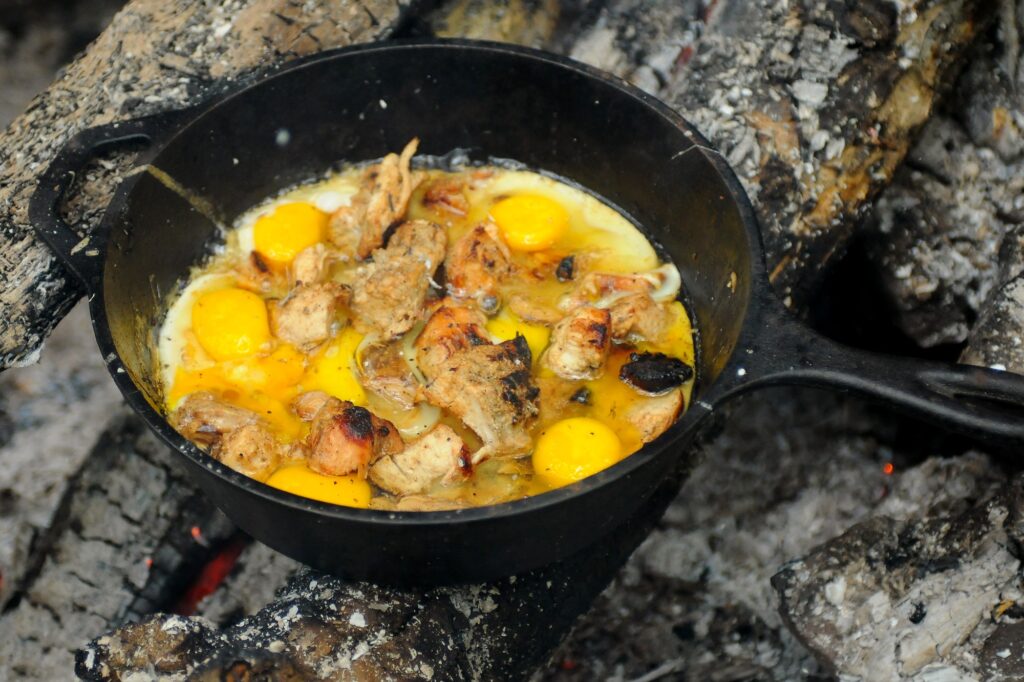
- Preparing your meal: Watching episodes of Naked Afraid in your living room with a bowl of popcorn is entirely different from actually living that life. Before you grow ravenous out of hunger, it’s best to be prepared in the survival training camp within your domestic space. Since cooking in an open area may turn your food cold and bland, consider a barbecue or hibachi.
- Building a fishing rod: If you want to catch and cook some delectable local fish, a fish rod is a must-have tool. There are plenty of varieties to select from but what’s better than building your own fishing rod? But before you start building, think of the size and weight of the fish you will be catching and how much extra weight would you agree to carry on the hiking trip.
Though you can hunt fish with various kinds of tools like an arrow or a slingshot or a spade, it’s better to turn an unsophisticated tree branch into a fishing rod. The first thing you need to do is to tie a knot towards the end of the branch so that it can be used as a handle. Then, gradually wind up the line to the branch tip and tie one more knot. Lastly, tie on a suitable hook and attach the bait and you are all set to go.
How to prepare for the real survival trip
Improving survival training and fitness is a highly impactful and efficacious means of prepping for real hiking or camping. As setting up a training camp in your backyard prepares you mentally for the real adventure, physical fitness lowers your risk of wearing out in an emergency situation. This doesn’t mean that you will have to become a gym rat or survive on distasteful food. Following a few tips can help you thrive in the face of odds.
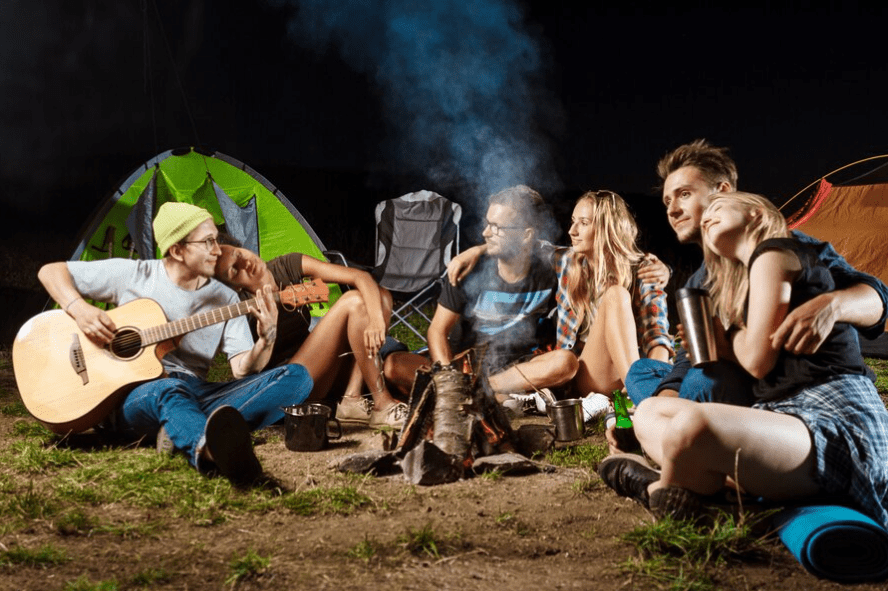
Survival training in your backyard can only expose you to a glimpse of the challenge and hostilities you are going to face while camping and hiking. Nevertheless, it is a refreshing adventure and a major proportion of the American population takes part in it every year.
There are some ways in which you can stimulate your body for the actual trip and it includes eating right, staying flexible, and building your cardiovascular output.
Fitness training for the hiking trip
Looking big and bulky is one thing and actually being durable is something else. If you are planning for a hiking trip, ask yourself whether you have the strength time to push or pull heavyweight. Can you jump, climb or sprint if required? Even if you have a stringent fitness regime, not all workouts will give you the strength and tenacity required for survival.
- Rope: Developing grip and hand strength is especially crucial. No matter how strong your core muscles, chest, and arms are, you will give up in seconds without a viable hand strength.
- Pinch grip: Holding a cinderblock for around 30 to 60 seconds with the fingers straightened out can improve the strength of your fingers.
- Sprints: Rather than practicing long-distance running on a treadmill, sprinting for a few minutes can really help. Imagine a lion running after you, and you will have to save your life by climbing up a tree or hiding inside a cave. And all these, you must be able to do within a few minutes.
- Plank: While this is a full-body workout, it primarily works on the core muscles. Setting up small goals and being in practice can go a long way to support you.
- Swimming: Well this is not just a workout, it can actually save your life in the jungle. If you are a strong and confident swimmer you will have to worry less when camping or hiking in the open, unprotected area.
Tools and Instruments that I must have in my bag
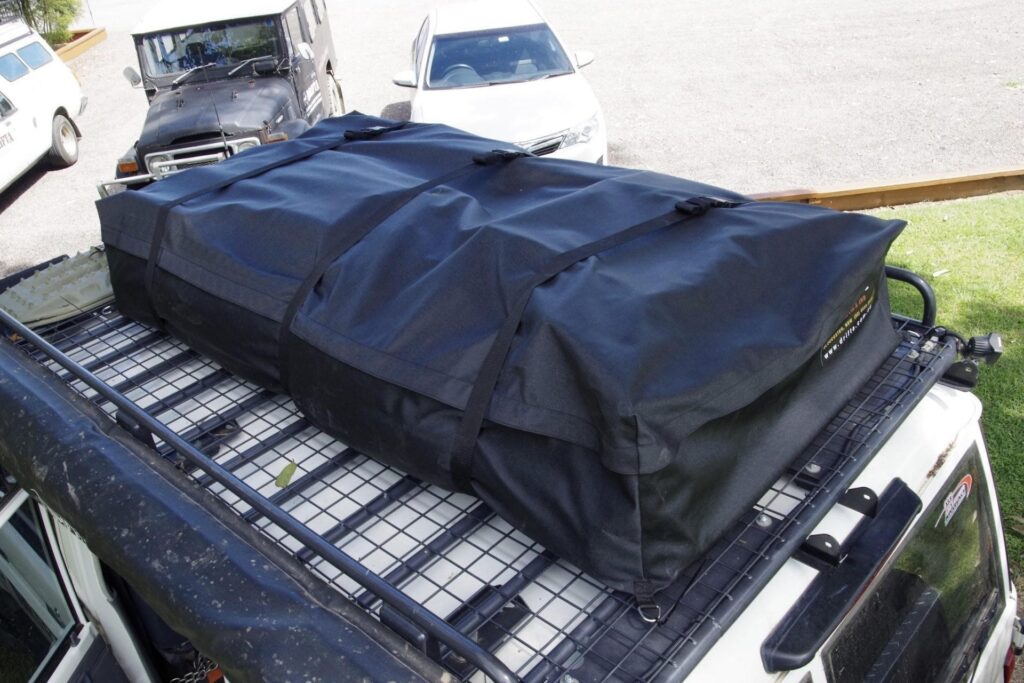
Conquering the natural domain will require much more than the regular stuff that you use at home. You must be ready with a suitable survival kit that can keep you safe and alive. Make sure you have packed the following in your backpack before heading out:
- Knife: Although any knife can do the needful, it’s better to have a specially crafted survival knife for a matchless performance. It will help you build your shelter, hunt down food, cut ropes, and a lot more.
- Lighter: It’s better to carry some sort of ignitor even if you have mastered the rudimentary methods of lighting up a fire. The best thing is that now you can also get waterproof matches that work wonders in wet weather.
- Cordage: This multipurpose survival gear can really improve your chances of making things easier in the wild area. It is not just needed for building up your shelter but also for hoisting food away from the reach of wild animals.
- First-aid kit: All the training and camping experiences in your backyard may make you feel no less than a superhero. However, sustaining a physical injury is extremely crucial as it may lead to severe bleeding or infections. Some OTC painkillers, along with gauges, gloves, antiseptic, bandages, and cleaning wipes are all you need to carry.
The Bottom Line
Today, there are several reasons to boost your individual survival quotient. And once you have a survival training camp in your backyard, it can be a plausible means of teaching your kids fundamental survival skills without shelling out the expense to travel or taking out a huge chunk of time for the same. Taming nature is never going to be easy. But with the right level of training and dedicated practice, you can come out with flying colors.