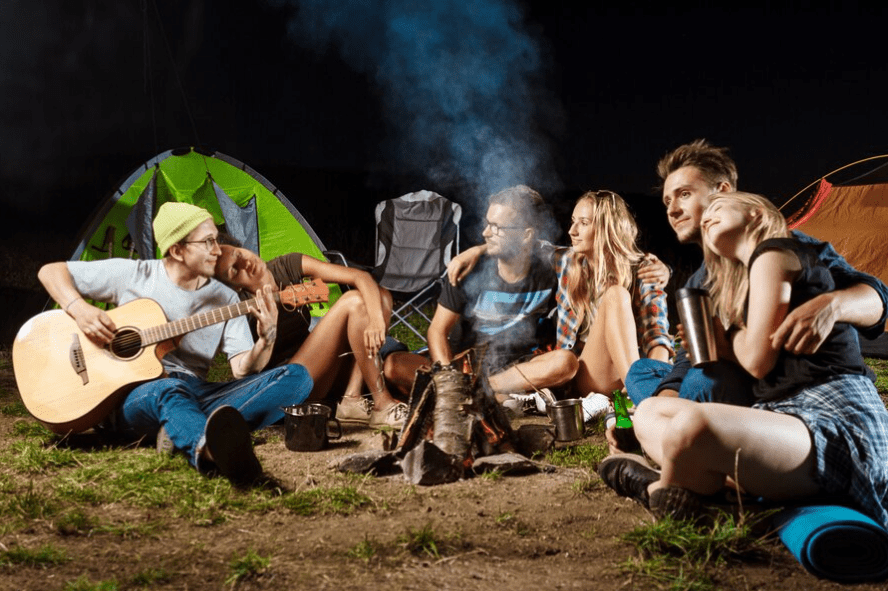
If you want to sustain your life, even in the most challenging environment, then you should have survival skills. These techniques can help you to handle critical situations in both built and natural environments. These skills can create a big difference in your life. They can give you hope when the situation is dire and ensure that you come out strong. Basic survival skills include:
1. Starting a fire
2. Making a signal fire
3. Fishing/ making a fishing rod
4. Trying a few good knots
5. Building some shelter
6. Get familiar with a compass
7. Treating injuries
8. Finding food in nature
9. Hunting / setting up traps
10. Finding and Purifying Water
Table of Contents
Top 10 Basic Survival Skills
Most survival situations in life require that you know how to do the following activities:
1. Starting a fire
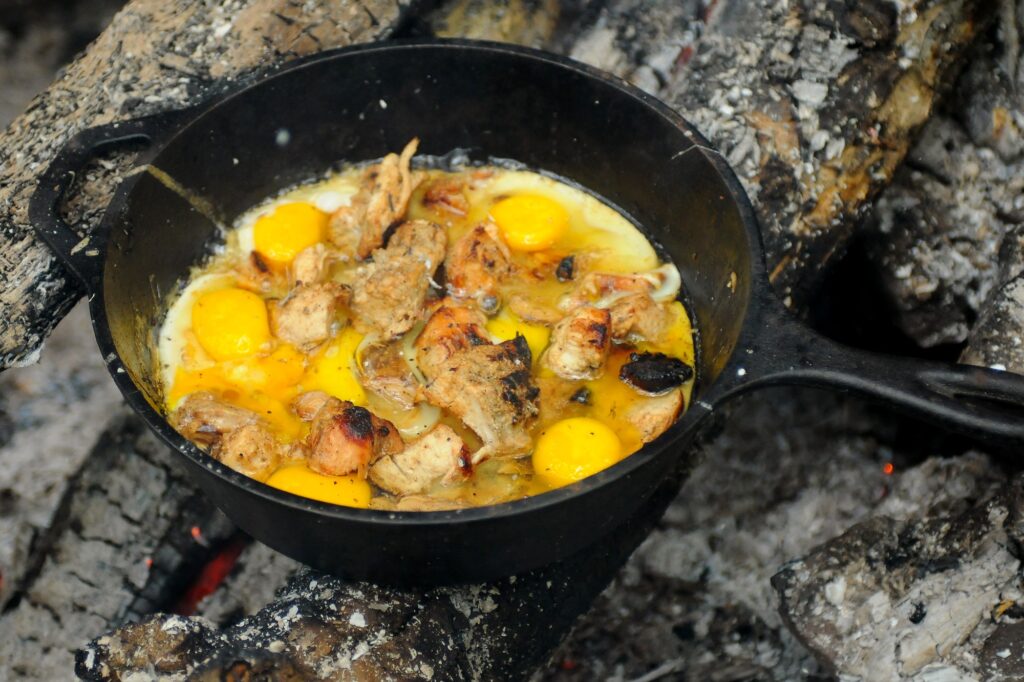
History indicates that fire has played a crucial role in our existence. We use fire to stay warm when the weather conditions get extremely cold. Besides, we can use it roast game meat and cook food.
It should be noted that during those dark and moonless nights in the wilderness, fire can come in handy in providing light. It’s versatile and can be used to carry out multiple functions.
Some people use fires to ward off predators so they can serve as a security element. Those who are well-versed with traditional ways of managing wounds and injuries can also use it to cauterize wounds. But how do you start a fire and build it?

How to start a fire
There are two common ways to go about this:
- Using a lighter and sticks: This is the fastest and easiest way to start a fire from scratch. You only need to assemble the twigs and then use the source of ignition.
- Friction: Rubbing two sticks together can create friction that you need in order to create fire. The rapid movements result in friction that causes heat to dissipate. The heat will then coax the wood and turn it into smoldering charcoal. You can then feed the charcoal to highly flammable material in order to start a full-fledged fire.
Building a Fire
- Always start the fire small. Collect small twigs, dry grass, and other fibers to start your fire.
- Gradually add dryer materials. This way, your fire will steadily grow in size and become huge.
2. Making a signal fire
A fire signal should be seen above the ground and at a distance. So, it means that it should be smoky. Emergency situations and although we have conventional modes of communication, situations may arise where you might be forced to look for an alternative.

How to Make a Signal Fire
- Find a prominent spot: lighting a large fire in a valley may still help you to garner the attention you want. However, the best place is a prominent higher ground. It could be a ridge or a hilltop. In case they aren’t available then light your fire on flat terrain, in a place that’s open.
- Light multiple fires: one fire is good but if you want to quickly get attention then you should start two more fires. Internationally, the number 3 is a symbol for emergencies or help. So, lighting three fires will indicate that you are in distress. For effectiveness, the fires need to be in a certain geometric pattern i.e. triangle.
- Add smoke additives: the fires need to be large and highly visible. It is, therefore, important to add smoke additives. The best things that can get smoke to easily roll are plastic materials and oily products. If you are in the bush, paper birch and fatwood are excellent creators of darker smoke. Other readily available materials include vegetation that has a poor rate of combustion. Evergreen boughs, large slabs of tree bark, and wet leaves are also great additions. But before you add these materials, make sure that your fire is large and hot enough. Understand that smoke is usually created as a result of poor or incomplete combustion. This makes less-flammable materials the most ideal for the production of heavy smoke.
3. Fishing (making a fishing rod)
“Give a man a fish & he will eat it for a day. Teach a man how to fish and he eats for a lifetime” We have heard this quote that has become a cliché many times. The truth is that this ancient Chinese proverb teaches how learning to fish is an important survival skill.
First, fish is a great source of protein. So, if you can fish while you’re in the wilderness, then you will have a healthy supply of food.

For a casual fisherman, the best way to about it is to make your own fishing rod. This is a cost-effective and practical way to understand the basics of fishing.
How to make a fishing rod
You need:
- A bamboo cane /any other cane/ Stick
- A fishing line/dracon
- Sandpaper
- Hook, bobber, sinker
- Multitool
Instruction
- Trim and customize the pole/stick so that it’s 8-10 feet long and 1-2 inches wide (diameter). The multitool is normally used to smoothen the rod/stick.
- Attach the fishing line to the stick. Dracon is the most ideal since you can easily knot it and it has great tensile strength. Cut 4-6 inches of the fishing line and then tie the 1st knot close to the fishing rod’s handle. You will remain with more than three inches of the fishing line hanging.
- Attach the bobber, sinker, and hook. Tie your hook along with the sinker and bobber in order to increase your chances of catching a fish. The hook should be at the end of the fishing line followed by the sinker, and then the bobber on top of the two. A bobber is a type of float and it serves as an indicator when the hook has baited the fish.
4. Tying a few good knots
Tying a knot is one of the few survival skills that most people aren’t aware of yet. As a result, very few have mastered it yet this is an invaluable skill that could probably help to save a life.
You definitely know how to tie knots for shoes but can you tie a solid knot outdoors using a rope? If you were to make a fishing rod at home, would you effectively secure the fishing line because this process requires that you know how to tie a knot?

There are many other practical applications in our day-to-day lives that require this skill set. It includes bandaging, building a hunting trap, or even a finishing line in sports.
Besides that, this underrated skill set can also be vital for entertainment, sporting, and leisure activities such as rock climbing, hiking, camping, and boating.
How to Tie a Knot
There are types of knots that you need to know how to tie if you are keen on having basic survival skills:
- Thumb knot/overhand knot: it’s the basic type of knot and all the other knot tying techniques are derived from it. It’s simple to create. Simply form a loop and then pass one end of the rope before pulling both ends to secure it.
- Double Overhand knot: it’s just like the basic knot but you need to pass one end of the rope through the loop twice hence the name “double”. After that, you can pull both ends to secure it.
- Flemish knot/figure 8 knot: it’s a complex type of overhand knot that’s more secure, stronger, and forms a larger knot. Place your rope on a surface to create parallel lines and a loop on its head. Pick one end of the rope and pass it over the other end and then twist it upwards and pass it through the loop to create a knot that resembles figure 8.
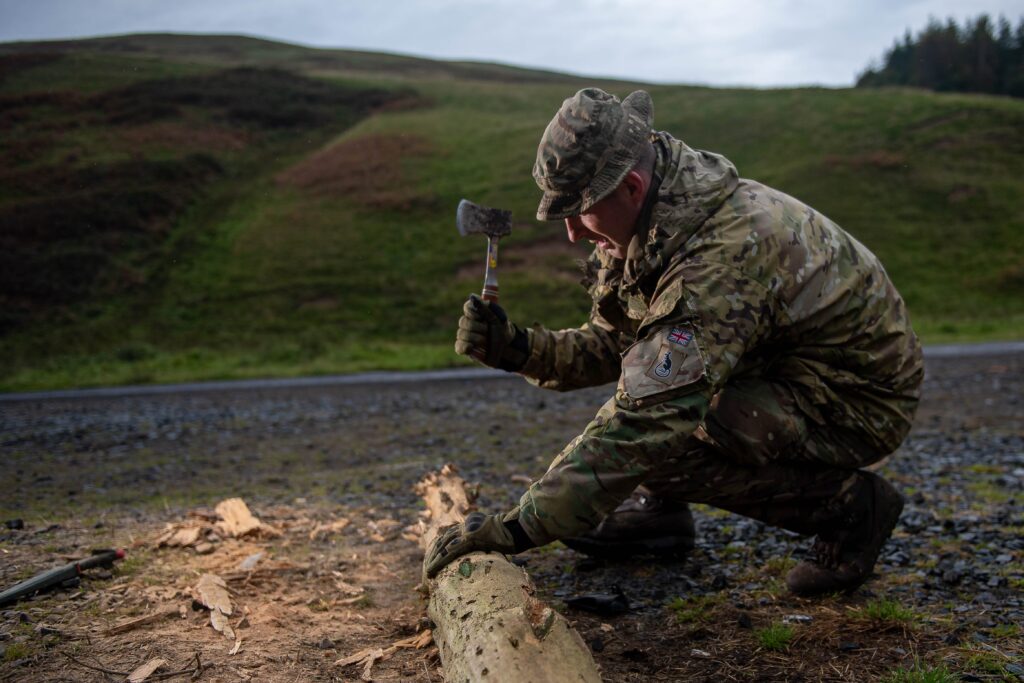
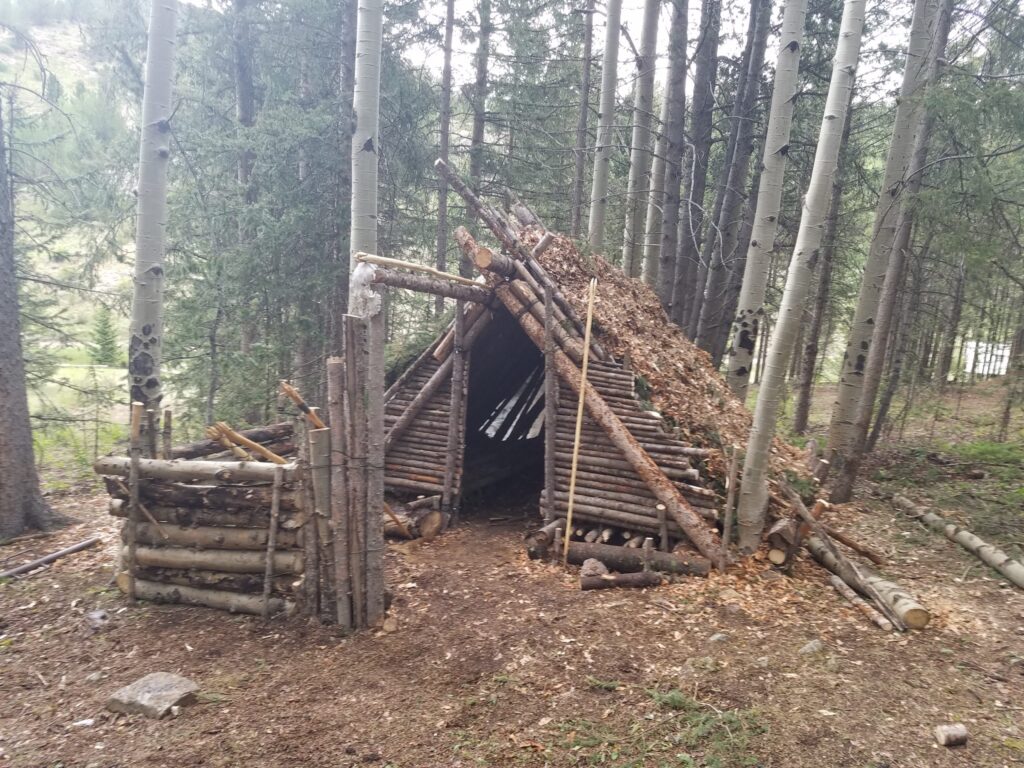
5. Building some shelter
You might have a permanent house, but you still need to know how to build a shelter. Basic survival skills require that you know how to protect yourself from your surroundings.
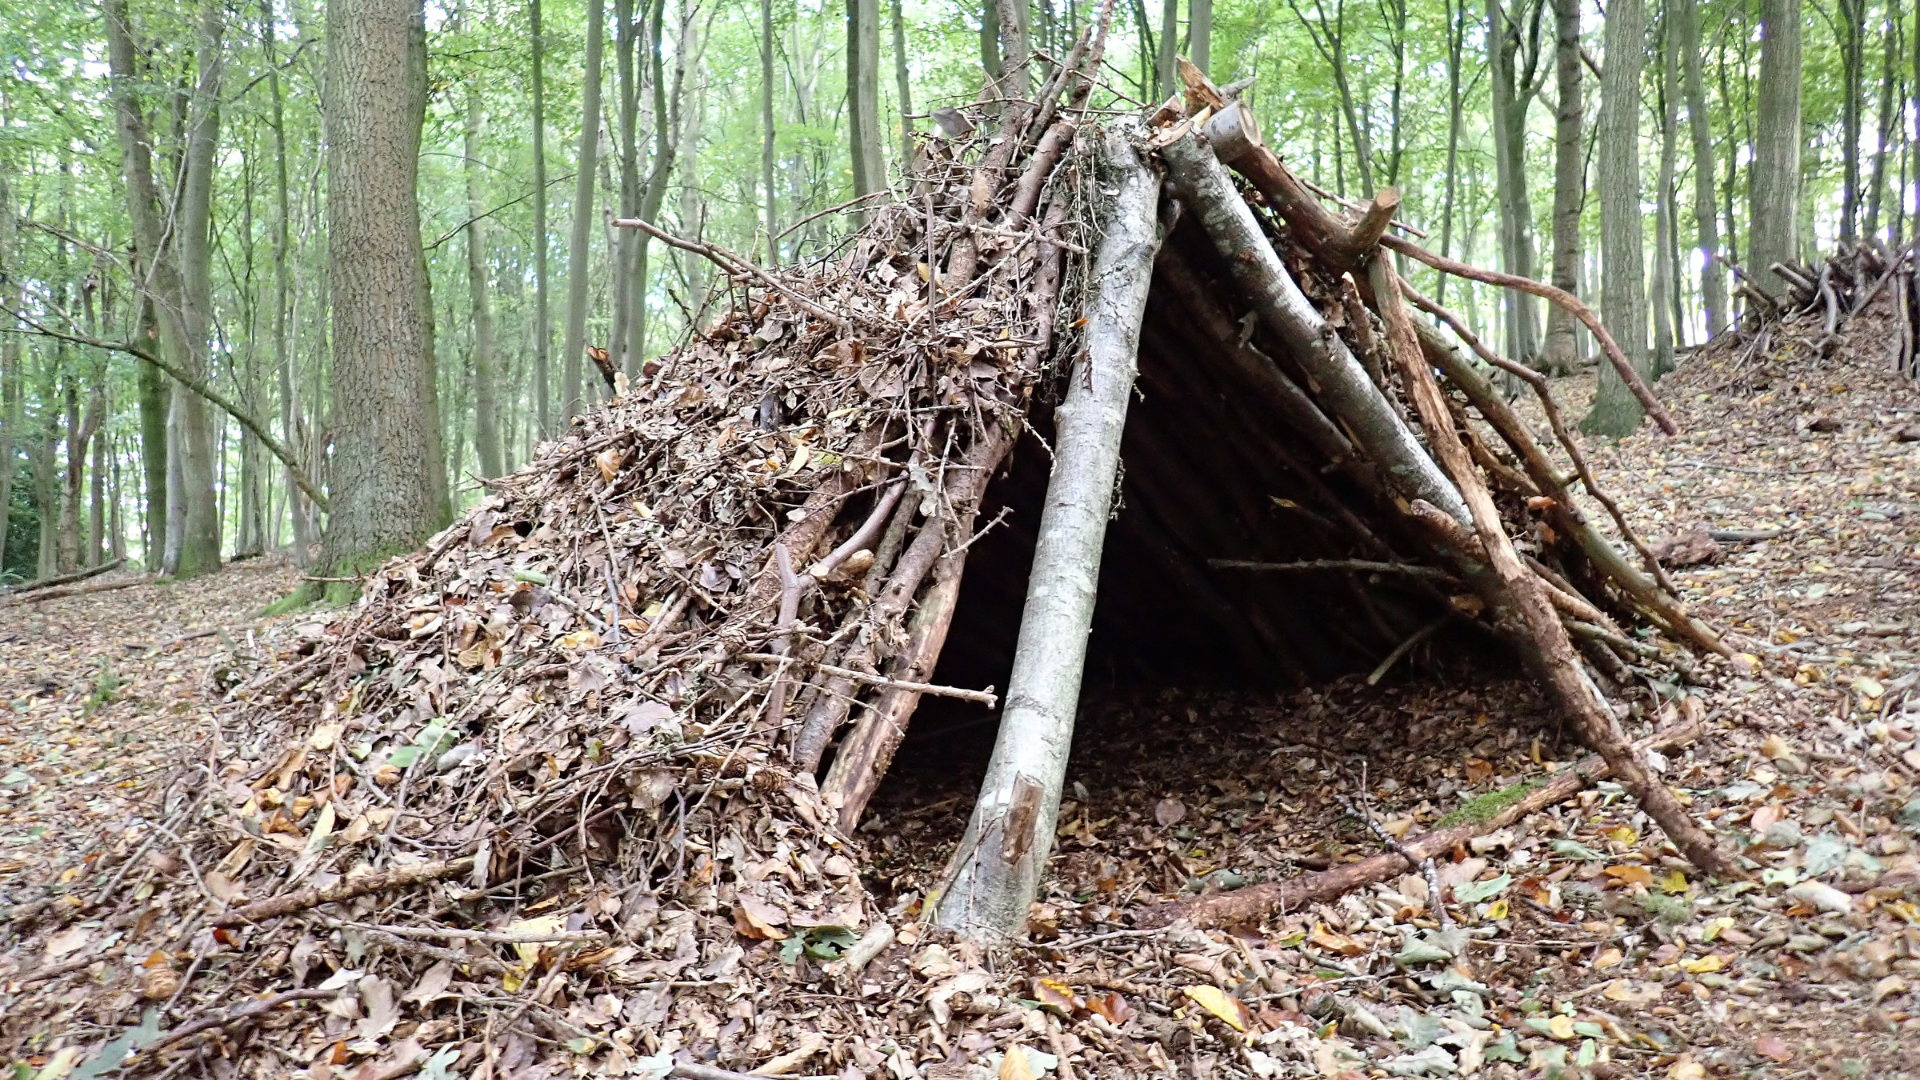
A shelter is a protective place that you can use to protect yourself from elements of weather. This includes rain, snow, sun, cold, and wind. Besides that, it’s effective in shielding you against harmful animals such as snakes and wild dogs.
Understand that anything within the external environment that tries to take away your comfort is an enemy.
How to Build a Shelter
There are several types of shelters that you can create based on the available materials and style:
- Lean-To: it’s the easiest to make since you need to lean the building materials against a natural formation or an existing structure. It could be a tree, a wall, etc. This is a 3-piece structure since the pre-existing structure should provide the 4th frame. As a result, it normally doesn’t offer all-around protection. However, it’s the most ideal shelter to construct if you are running out of time. You can easily make a Lean-On shelter using branches and twigs.
- Round Lodge: it’s considered to be an evolved version of Lean-To. It’s normally constructed in the same way. However, it’s larger and involves the use of more materials i.e. branches. The fact that it’s an improved version means that it offers more protection. This is because it’s effective in encircling the occupant entirely. You can use it to store your gear, food, and still sleep or rest inside.
Note: the first rule of protection and shelter is your clothing. Ensure that you have the right clothes that complement the environment. If it’s cold, layers of clothes will help to add warmth by trapping more air. The vice-versa is true.
6. Get familiar with a compass
A lot of things can guide you to reach your destinations, especially landmarks. But in the case of unfamiliarity and unknown surroundings, you might want to use a navigating tool. A compass is one of the most effective tools that you can use to find the right direction.

How to Use a Compass
You can use a compass alone or with a map.
Using a compass alone
Simply point to the direction where you are headed from your current position using the travel arrow that’s on the compass. Thereafter, go ahead and rotate the azimuth ring until the compass’s orienting arrow is perfectly lined up with the magnetic needle’s red end.
Start your journey while using the direction of the needle. If you are following the correct direction, both the needle and the housing will remain in place.
Using a compass with a map
You first need to place both the map and compass on the ground. Using a pencil or an erasable marker, mark your current position on the map. Thereafter, map the destination you intend to go to and then link them using a straight line.
Take your compass and line its edge on the line. Line it in such a way that the travel arrow is pointing to the direction you wish to travel to.
Go ahead and twist the azimuth ring until the orienting arrow and the north on the map are perfectly aligned. Follow the path using the directions on the compass.
Even though technology has advanced and you can now use your smartphone for navigation, a lot of things can go wrong in a day. First, your phone may go off. Secondly, there are places that may lack strong phone signals and this means you might end up getting stranded.
A compass (with or without a map) provides the best alternative, whether you have gadgets or not. It’s a reliable tool that you should definitely know how to use.
7. Treating injuries
Your survival skills should involve medical knowledge about treating injuries. Whether minor or major, an injury can quickly go from bad to worse in minutes if left unattended.
A lack of survival medical skills can land you in deep trouble. It doesn’t matter if the wound is bleeding or just a sprained ankle. Having the right medical knowledge is an essential requirement and can easily help save your life when dire circumstances arise.

When it comes to injuries, you should know how to treat a wound. Being injured during an emergency is one of the worst situations you can ever experience. However, you can’t just let your current situation take over. You need to dress the injury as soon as possible. Here to handle different types of injuries
- Close the wound: open wounds are entry points for bacteria and this can consequentially lead to worse complications. Close the wound using a piece of clean cloth or a Band-Aid if you can find one. If the wound is bleeding, bandage it tightly to avoid loss of blood.
- Support a sprain: use an ace bandage to support your sprain until you get the right medical attention.
- Treat a burn: use a topical gauze or a topical medication to manage a first-degree burn. If it’s a second-degree burn, then run it under cool water if it’s a little swollen or blistered.
8. Finding food in nature
Food is a basic human need and regardless of where you are, your body needs vital nutrients in order to function optimally. It means that even if you are in the wilderness, you still need to find a way to feed your body.
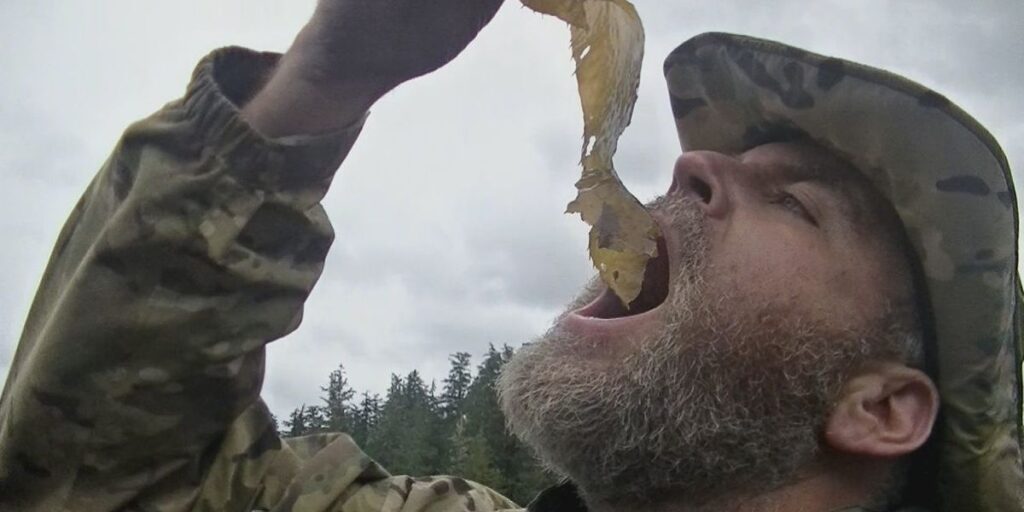
As part of your survival skills, you need to learn how to identify plants that are safe for human consumption. The best thing about this is that there are more edible non-toxic plants compared to poisonous ones.
How to Identify Edible Plants
This is based on the universal edibility test. In case a plant burns your mouth, has a bitter taste, or has a soapy feel, don’t eat it but spit it out. If there is completely no reaction, then swallow a small bite and wait for a couple of hours before you can proceed to eat more. For effectiveness, here is how you can do your own edibility test:
- Separate the selected plant’s root, bark, leaves, flowers, and buds. Try one piece at a time and wait for a couple of minutes to determine the reaction.
- Smell the plant and if it has a strong, unpleasant odor then don’t eat it.
- Try contact poisoning by placing a piece of the plant in your wrist or inner elbow for a couple of minutes. If your skin turns red, feels numb, itches, burns, or breaks out, then you shouldn’t eat the plant. The most common natives that are ideal for consumption:
Plants you can eat without hesitation
- Wild onion
- Common milkweed
- Blueberries and cranberries
- Brambles
- Common dandelion
- Wild currants
- Amaranth
- Asparagus
- Clovers
There is a wide range of plants that you can feed on. However, your goal should be to avoid anything that has a reputation for being toxic. For instance, stay away from mushrooms growing in the wild.
9. Hunting/setting up traps
Sometimes an emergency situation may make you stay longer in the wild. To endure the extreme conditions and effectively survive the situation, your hunting skills may be needed. It should be noted that animals are great sources of proteins and fats and they should, therefore, eat them regularly. This means that survival hunting is one of the most important survival skills.

Types of game to hunt
You can hunt both small and large game animals including:
- Ducks or geese
- Rabbits
- Pheasants
- Deer
- Moose
- Woodcock
- Wild turkey
How to Set Traps
Don’t burn your energy and waste your time trying to physically go after animals or birds. You will end up fatigued with nothing. Besides that, you risk injuring yourself.
Most wild animals are intelligent and smart. They can quickly detect your presence through smell and movements while you are meters away. So, your potential of successfully hunting them without setting traps is quite low. But if you choose to use a trap, here’s what you need to know:
- Use a trap that matches the size of the animal you want to trap. Small animals require smaller traps. The converse is also true.
- Set a trap that’s camouflaged. This way, the animal won’t detect it.
- Your trap should be located in a place where the animal is most likely to pass.
Types of Hunting Traps to Use
There are simple hunting traps that you can make with basic homemade materials. They include:
- Foothold traps: they are the simplest to set up since they simply involve placing a curve-shaped trap on the ground. When an animal steps on the trap, it will close and grip its feet. Most fur-bearing animals are usually caught with these types of traps.
- Conibear or body-grip traps: it’s the most effective alternative to the smaller foothold traps. They are more effective since they kill the animal almost instantly.
- Snares: they have a high level of effectiveness due to their customized nature. These are complex trapping tools and you have to be careful when using them.
How to Make a Simple Trap
- Use a rope or barbed wire to create a noose
- Get a bidirectional trap trigger and ensure that the loop has are two loose ends
- Hang the loop in the animal’s path in a position that will likely go around its neck.
- Once the animal tries to go through the loop, the snare will be triggered and it will tighten around the animal’s neck
Note: You can also dig a hole to trap your hunt.
10. Finding and Purifying Water
You can eat food, stay warm, and even know how to create a fire signal but if you don’t know how to purify water, your survival will be tricky.

Water is an essential part of our daily wellness routine. This is because the body needs it to handle various metabolic processes. If the body is dehydrated, you can become weak and even die in a matter of hours.
How to find water
- Collect it from rivers and streams
- Use a piece of clothing and container to collect dew
- Tie plant moisture bags around leafy tree branches and water will collect over time
- Collect rainwater
- Collect and melt snow
How to Purify Water
- You can use a piece of clothing as a filter to remove debris and unwanted materials
- Boil water if you have a source of heat
- Use commercial purifiers in liquid or tablet form
Note: always be cautious when collecting water in the wild because some sources are contaminated.
The Bottom Line
Survival skills are important because they make it possible to navigate different difficult experiences and environments. The above-reviewed skills are essential and therefore every individual should try and learn them. Remember the key to mastering any skill is learning first and then practicing.